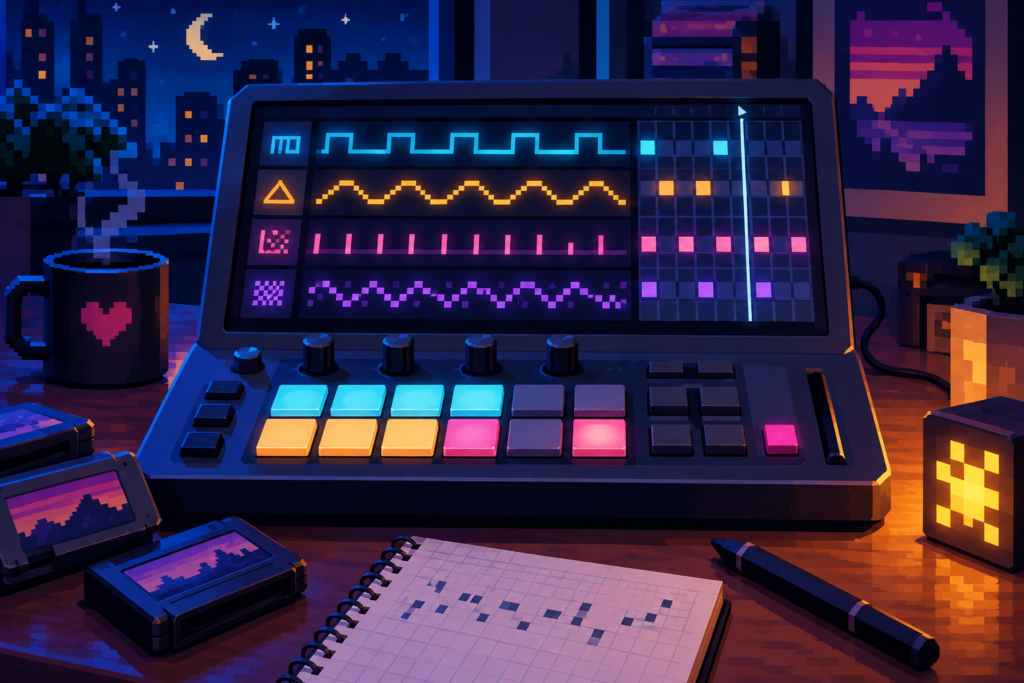
To make chiptune music for a game, start with a short melody, assign each part to a limited sound channel, add a bass line and noise rhythm, then test where the music repeats. The 16-bar exercise below uses FamiStudio to make an NES-style loop. Its pitches, tempo and arrangement are original examples you can change; they are not a transcription of an existing game theme.
Decide what “chiptune” means for your project before opening an editor. A chip-accurate cue follows the available voices and playback behavior of a chosen system. A modern cue can borrow the pulse-wave color while adding layers, effects and stereo production. Both can work in a game, but a bounced audio file with retro sounds is not automatically music that an NES sound engine can play. FamiStudio offers both audio export and formats intended for NES playback, with different limits for each route in its export documentation.
Choose a workflow that fits the game
Use FamiStudio if you want to compose against NES-style channels and keep a route to native playback. Its piano roll lets you place and resize notes visually; the official note editor guide explains the desktop controls. You can instead use a tracker if you prefer note rows and effect commands, or a DAW if your game will play rendered audio and you want a broader palette. A DAW can imitate the texture of a console, but your synth settings alone do not enforce its channel limits. Our game music DAW comparison covers the broader software decision.
For this exercise, create a song in FamiStudio tempo mode with no expansion audio. Set a target of 120 BPM and use one pattern as one bar of 4/4. In Song/Tempo Properties, choose 16 notes per pattern and four notes per beat, then make 16 patterns. FamiStudio’s song guide documents that pattern setup and notes that its BPM is calculated from sound-chip frames; the displayed value may differ slightly from a conventional DAW grid. Treat 120 BPM as a musical target, not a promise of sample-perfect timing. Save the editable project before arranging.
A real game brief should guide the mood. In a Nintendo interview, Koji Kondo explained that his first version of the Super Mario Bros. Ground Theme did not fit the character’s running and jumping; playing the prototype changed the music he wrote. Use that as a process example: try your loop against actual movement and effects, without borrowing Kondo’s notes or claiming his arrangement is the one below.
Give each channel a job
An unexpanded NES-style project has two pulse channels, one triangle channel, a noise channel and DPCM sample playback. FamiStudio’s channel type list names Square1, Square2, Triangle, Noise and DPCM. The first four do all the work here; leave DPCM empty. This is an exercise choice, not a claim that DPCM is unusable. If a game engine also plays sound effects, arrange with those interruptions in mind rather than filling every gap.
| Channel | Job in this loop | What to leave out |
|---|---|---|
| Square 1 | Short, clear lead phrase | Long overlapping notes |
| Square 2 | Quiet offbeat chord tones or brief replies | A second nonstop melody |
| Triangle | One bass pitch at a time | Dense low runs under every lead note |
| Noise | Short kick-like and snare-like accents | Continuous hiss |
| DPCM | Unused in the first draft | Sample setup before the tune works |
FamiStudio allows only one note at a time on a given channel; a later note can interrupt an earlier one, according to its note-duration guide. That makes the voice assignment a musical decision. Square 2 can imply a chord by alternating chord tones, while Square 1 stays intelligible. Triangle gives the listener the root; noise supplies pulse and punctuation. Do not stack several notes on a single channel expecting a piano chord.
Write a four-bar idea you can enter today
The example is in A minor, 4/4. Those are convenient exercise settings, not rules of chiptune. Read “quarter” as one beat, “eighth” as half a beat, and “rest” as silence. In FamiStudio’s 16-note pattern, a quarter occupies four note positions and an eighth two. Start with Square 1 alone. Click to add a note and drag to set its duration as the official piano-roll instructions describe. Use modest note lengths with tiny gaps where you want a crisp reattack.
| Bar | Square 1 lead, left to right | Triangle bass, one beat each | Noise accents |
|---|---|---|---|
| 1, Am | A4 eighth; C5 eighth; E5 quarter; C5 quarter; rest eighth; A4 eighth | A2, A2, E3, A2 | Kick-like burst beats 1 and 3; snare-like burst beats 2 and 4 |
| 2, F | A4 eighth; C5 eighth; F5 quarter; E5 quarter; C5 quarter | F2, F2, C3, F2 | Same four backbeats; short high-noise tick on the offbeat after beat 4 |
| 3, C | G4 eighth; C5 eighth; E5 quarter; G5 quarter; E5 quarter | C3, C3, G2, C3 | Kick-like burst on 1 and 3; snare-like burst on 2 and 4 |
| 4, G | D5 quarter; B4 eighth; G4 eighth; A4 quarter; rest quarter | G2, G2, D3, G2 | Same beat pattern; keep the final beat silent |
This is a written arrangement, not a recorded or tested FamiStudio project. The lead’s first bar lasts exactly four beats: two eighths, two quarters, an eighth rest and an eighth note. Copy that duration logic into the next three bars before changing pitches. The bar-4 rest gives the next phrase room to begin. If octave labels sit outside your instrument’s comfortable range, move the whole part by an octave without changing its interval pattern.
Add the triangle line only after the lead feels singable. The roots A, F, C and G outline the chord movement without asking any one channel to play a chord. The third-beat note is a fifth in each bar, so the bass has some motion while leaving space for the melody. For more ways to shape a hook than simple chord roots, see our game music theory guide.
Shape the pulse and noise sounds
Add four instruments named Lead Pulse, Soft Pulse, Low Noise and High Noise in the project explorer. As an untested starting recipe, give Lead Pulse a duty-cycle envelope with one value, 2, and a four-frame volume envelope of 15, 12, 10, 8, looping on its final value. Give Soft Pulse duty value 0 and a four-frame volume envelope of 8, 5, 3, 0, with no loop. FamiStudio’s instrument guide documents instrument names, duty-cycle and volume envelopes, their lengths and loop points; its format reference gives the four standard duty values as 0–3 and note volume as 0–15. These numbers are editorial examples, not maker presets or tested sounds. Adjust the envelopes by ear and keep both pulse parts distinguishable at low playback volume.
Use Soft Pulse on Square 2 for offbeat chord tones alongside the lead, not only in its rests. In each of bars 1–4, place one eighth note on the offbeat after beat 1 (beat 1-and) and another on the offbeat after beat 3 (beat 3-and); leave every other eighth-note slot empty. The pairs are bar 1, C5 then E5; bar 2, A4 then C5; bar 3, E5 then G5; bar 4, B4 then D5. This puts two separate notes, not a chord, on the channel and leaves beats 2 and 4 clear. Enter their start positions and durations in the piano roll. Later, FamiStudio’s arpeggio feature can cycle pitch offsets such as 0-4-7 for a major triad or 0-3-7 for a minor triad, but this exercise uses the literal pairs above. Lower Square 2’s volume if it masks Square 1.
For noise percussion, start with Low Noise on the C3 noise-key pitch on beats 1 and 3, using a four-frame volume envelope of 15, 8, 3, 0 with no loop. Put High Noise on the G3 noise-key pitch on beats 2 and 4, with a three-frame envelope of 12, 6, 0 and no loop. The different pitch keys and lengths are untested starting choices; adjust them by ear for a heavier accent and a brighter reply. Do not treat “kick” and “snare” as literal sampled drums in this four-channel exercise. The maker’s Soundation chiptune guide also describes short noise bursts as a percussion source. If your noise part fills the spaces between every lead note, remove half the hits and listen again.
Expand it into a 16-bar game loop
Extend the four-bar idea to 16 pattern columns, one bar per column. Reuse an unchanged pattern as a linked instance, but on the desktop hold Ctrl+Shift while dragging each pattern you will edit to create an independent copy. In particular, make the edited patterns in bars 8–12 and 16 independent of their sources before changing any notes. Ctrl-drag and Ctrl+C/Ctrl+V create linked instances, so editing one changes every instance. FamiStudio documents these controls in its sequencer guide. The table is a composition map; keep bar 16 aimed at bar 1 so the cue survives continuous play.
| Bars | Square 1 | Square 2 | Triangle and noise |
|---|---|---|---|
| 1–4: A | Enter the written hook | Offbeat chord-tone pairs on beats 1-and and 3-and | Root/fifth bass and four-beat noise pattern |
| 5–8: A variation | Repeat bars 1–3; in bar 8 replace the last quarter rest with G4 eighth, A4 eighth | Repeat the pairs in bars 5–7; in bar 8 rest through beats 1–2, play B4 eighth on beat 3-and, then rest | Keep bass roots; omit noise on bar 8 beat 4 |
| 9–12: B | Move the first phrase up: C5, E5, G5 over C; answer lower over G, Am, F | Keep the offbeat slots: bar 9 E5/G5; bar 10 B4/D5; bar 11 C5/E5. In bar 12 play A4 eighth on beat 1-and only | Follow roots C, G, A, F; thin noise in bars 11–12 |
| 13–16: return | Bring back bars 1–3; use bar 4’s final rest again in bar 16 | Repeat the pairs in bars 13–15; in bar 16 keep B4 on beat 1-and and omit D5 on beat 3-and | Return to A, F, C, G; stop the last noise accent before the seam |
For the B section, enter this exact lead draft: bar 9, C5 eighth, E5 eighth, G5 quarter, E5 quarter, rest quarter; bar 10, D5 quarter, B4 eighth, G4 eighth, A4 quarter, rest quarter; bar 11, A4 eighth, C5 eighth, E5 quarter, G5 quarter, E5 quarter; bar 12, C5 quarter, A4 quarter, F4 quarter, rest quarter. Each bar totals four beats. This phrase rises higher in bar 9, then steps back toward the A material. Keep the root/fifth bass rhythm from the first table and substitute the listed roots. If the game needs a steady background rather than a foreground tune, reduce the lead’s high notes and leave longer gaps. A loop for a menu, combat encounter or puzzle can use the same channel map while changing tempo and density. For a larger cue that changes with player state, our adaptive music guide explains the implementation ideas.
Check the seam before you export
Before listening, confirm the song ends after 16 pattern columns and place its Loop point at the beginning of bar 1, the first pattern column: right-click the sequencer header there and choose the loop-point option, or hold L and click that location. Then play bar 16 straight into bar 1 several times. Listen for a note that hangs across the boundary, a late noise tick that doubles with the next downbeat, and a bass pitch that makes the return to A feel accidental. Shorten the final notes or move the final hit earlier if needed. Then mute each channel in turn: the melody should remain clear when Square 2 returns, and the bass should support it without blurring the rhythm. If the game shares channels with effects, test representative effects against the cue in the actual engine.
Keep the editable project. For a rendered preview or a game that plays audio files, FamiStudio’s Export dialog offers Wave, MP3 and OGG; its documentation recommends 44.1 kHz to preserve what you hear in the editor and offers separate channel files. Choose Play N Times = 2 in the audio Export dialog to hear the join, then trim or set loop points in the receiving game tool according to that tool’s rules. An audio render is a different deliverable from NSF, ROM or sound-engine assembly export. Check the target engine’s own format and playback restrictions before promising native console compatibility. Our stem delivery guide covers the wider handoff to a developer.
FAQ: Making your first chiptune
- Do I need original console hardware?
No. FamiStudio lets you compose an NES-style project on a computer. Hardware is relevant only if you plan to test on that target. - Do I need a tracker?
No. FamiStudio has a piano roll. A tracker is another way to enter notes and effects, and a DAW works for rendered chiptune-inspired audio. - Does “8-bit” mean I must export an 8-bit audio file?
No. In this guide, “8-bit” describes a retro sound and arrangement approach, not a required audio-file bit depth. - How do I make chords with few voices?
Alternate chord tones on one pulse channel, or divide melody, chord hints and bass among the available channels. Leave gaps so each part reads clearly. - Must a game loop be 16 bars?
No. Sixteen bars is this exercise’s structure. Use the length that fits the game’s pacing, and check the transition back to the start.
🎛️ Gear mentioned in this guide
- MIDI keyboard: Akai MPK Mini MK3 — best budget pick for composers
- Headphones: Audio-Technica ATH-M50x — honest mixing reference
- Interface: Focusrite Scarlett 2i2 — clean recording, zero fuss
As an Amazon Associate we earn from qualifying purchases. Full list on our Recommended Gear page.